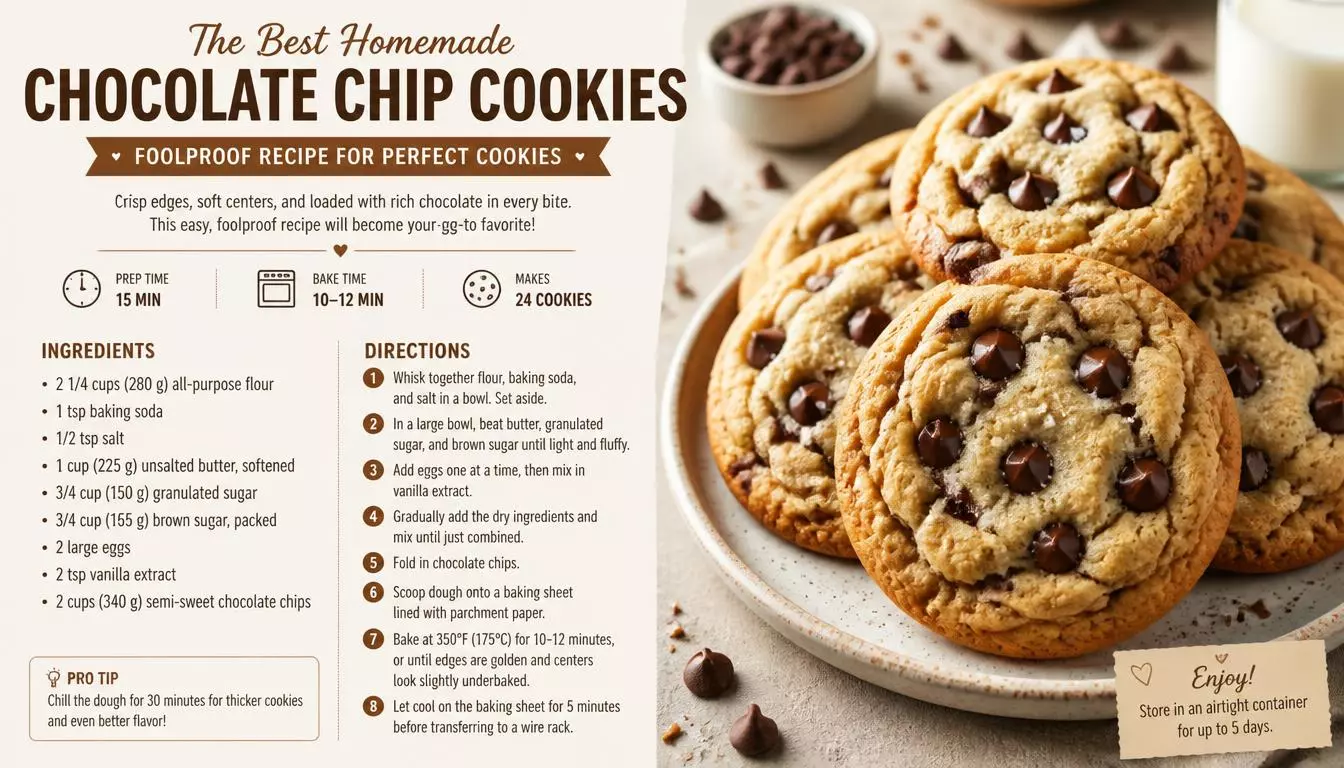
Best Homemade Chocolate Chip Cookies: Foolproof Recipe for Perfect Cookies
Freshly baked homemade chocolate chip cookies are the perfect treat for any occasion. This foolproof recipe uses simple ingredients and easy steps to create soft, chewy cookies with rich chocolate in every bite. Whether you’re a beginner or an experienced baker, you’ll enjoy perfect homemade cookies every time.
Classic Chocolate Chip Cookies
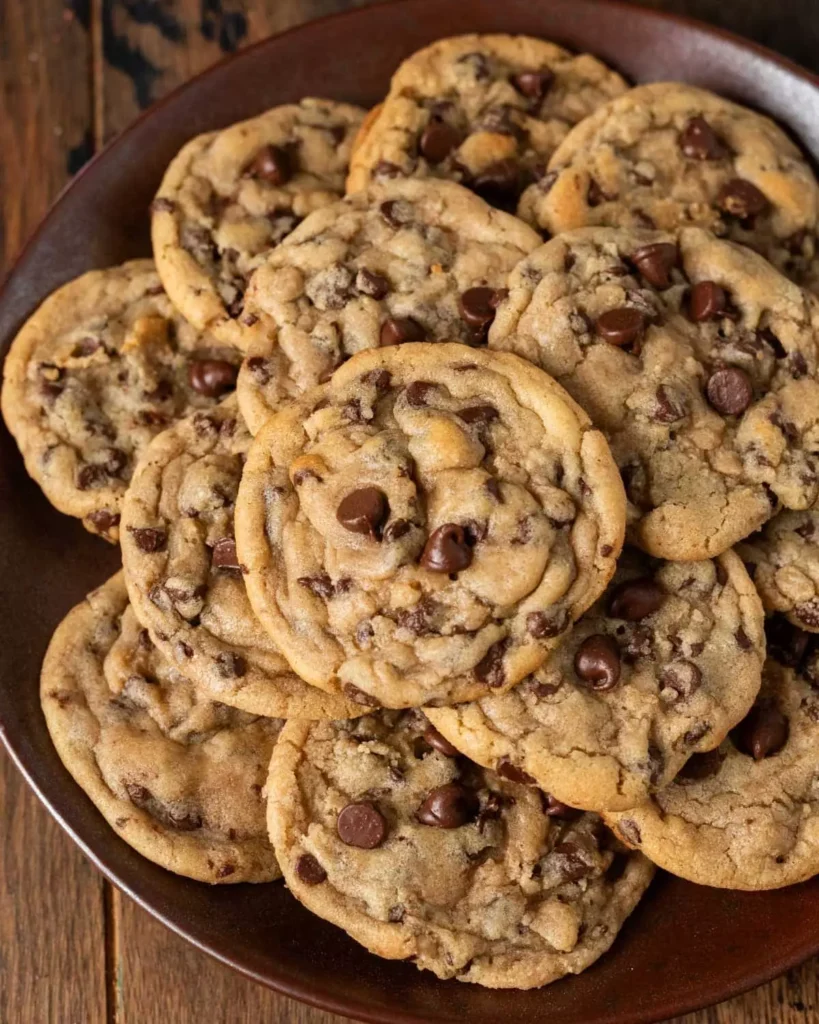
Nothing beats the taste of warm, homemade Classic Chocolate Chip Cookies fresh from the oven. These cookies have crispy golden edges, soft and chewy centers, and plenty of melted chocolate chips in every bite. The recipe is simple, beginner-friendly, and made with everyday ingredients, making it perfect for family baking, holidays, or an afternoon treat.
Ingredients
- 2¼ cups (280g) all-purpose flour
- 1 teaspoon baking soda
- ½ teaspoon salt
- 1 cup (225g) unsalted butter, softened
- ¾ cup brown sugar
- ¾ cup granulated sugar
- 1 teaspoon vanilla extract
- 2 large eggs
- 2 cups semi-sweet chocolate chips
- Optional: ½ cup chopped walnuts or pecans
Step-by-Step Instructions
Step 1: Prepare the Oven
Preheat your oven to 350°F (175°C). Line a baking tray with parchment paper or lightly grease it to prevent the cookies from sticking.
Step 2: Mix the Dry Ingredients
In a medium bowl, whisk together the flour, baking soda, and salt until everything is evenly combined. Set the bowl aside.
Step 3: Cream the Butter and Sugars
In a large mixing bowl, beat the softened butter with the brown sugar and granulated sugar for about 2–3 minutes until the mixture becomes light, creamy, and fluffy. This step helps create soft cookies with the perfect texture.
Step 4: Add the Eggs and Vanilla
Beat in the eggs one at a time, mixing well after each addition. Stir in the vanilla extract until the mixture is smooth and well blended.
Step 5: Combine Everything
Gradually add the dry ingredients to the wet mixture. Mix gently until no dry flour remains. Avoid overmixing, as this can make the cookies dense instead of soft.
Step 6: Fold in the Chocolate Chips
Using a spatula or wooden spoon, gently fold the chocolate chips into the dough so they are evenly distributed. If you’re using chopped nuts, mix them in at this stage.
Step 7: Scoop the Dough
Scoop about 2 tablespoons of dough for each cookie and place them on the prepared baking tray, leaving about 2 inches of space between each cookie.
Step 8: Bake
Bake for 10–12 minutes, or until the edges are lightly golden while the centers still look slightly soft. The cookies will continue to set as they cool.
Step 9: Cool Before Serving
Let the cookies rest on the baking tray for 5 minutes, then transfer them to a wire rack to cool completely. Enjoy them warm for the best gooey chocolate chip experience.
Helpful Tips
- Use room-temperature butter and eggs for a smoother dough.
- Chill the dough for 30 minutes if you want thicker, bakery-style cookies.
- Do not overbake. Slightly underbaked centers will become perfectly soft as the cookies cool.
- Sprinkle a tiny pinch of flaky sea salt on top before baking for extra flavor.
- Use high-quality chocolate chips for the richest taste.
Serving Ideas
Serve these cookies warm with a glass of cold milk, hot coffee, or hot chocolate. They also make a delicious dessert with a scoop of vanilla ice cream or can be packed into lunch boxes for a homemade sweet treat.
These Classic Chocolate Chip Cookies are soft, buttery, and loaded with chocolate, making them a recipe you’ll want to bake again and again. They’re easy enough for beginners and delicious enough to impress everyone who takes a bite.
Soft Chocolate Chip Cookies
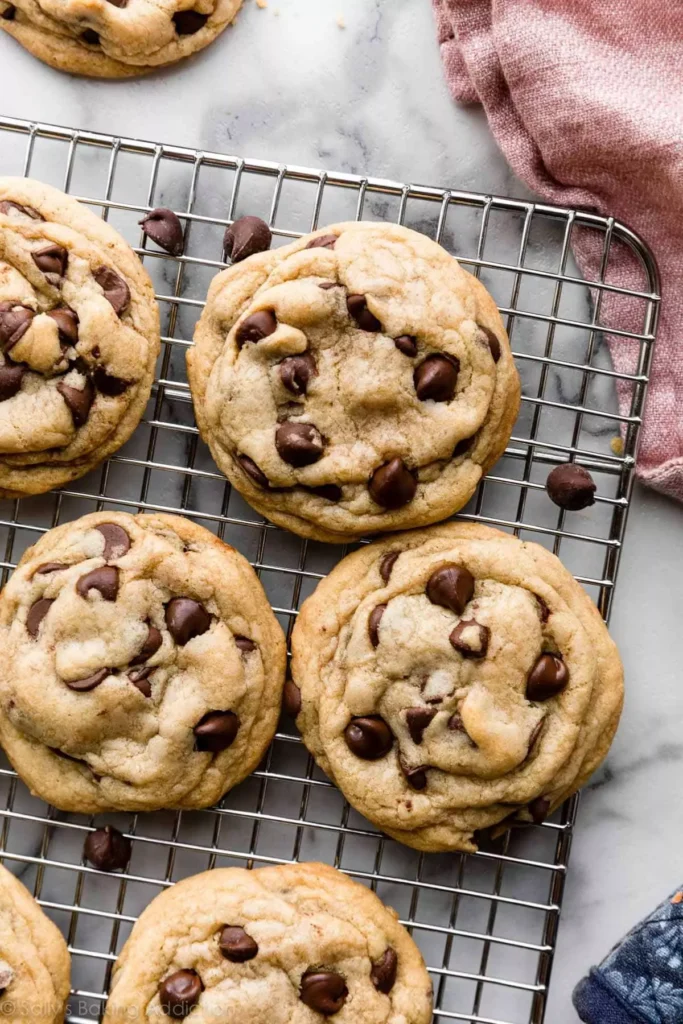
If you love cookies that are soft, thick, and packed with gooey chocolate chips, this Soft Chocolate Chip Cookies recipe is for you. These cookies stay tender for days thanks to the perfect balance of butter, brown sugar, and just the right baking time. They are easy to make and perfect for beginners, family gatherings, or whenever you’re craving a homemade sweet treat.
Ingredients
- 2¼ cups (280g) all-purpose flour
- 1 teaspoon cornstarch
- 1 teaspoon baking soda
- ½ teaspoon salt
- ¾ cup (170g) unsalted butter, softened
- ¾ cup brown sugar
- ½ cup granulated sugar
- 1 large egg
- 1 egg yolk
- 2 teaspoons vanilla extract
- 2 cups semi-sweet chocolate chips
Step-by-Step Instructions
Step 1: Prepare the Oven
Preheat your oven to 350°F (175°C). Line a baking tray with parchment paper for easy cleanup and even baking.
Step 2: Mix the Dry Ingredients
In a medium bowl, whisk together the flour, cornstarch, baking soda, and salt. The cornstarch helps make the cookies extra soft.
Step 3: Cream the Butter and Sugars
In a large bowl, beat the softened butter, brown sugar, and granulated sugar for about 2–3 minutes until light and fluffy.
Step 4: Add the Wet Ingredients
Mix in the egg, extra egg yolk, and vanilla extract until everything is smooth and well combined.
Step 5: Combine the Dough
Slowly add the dry ingredients to the wet mixture. Stir gently until a soft cookie dough forms. Avoid overmixing.
Step 6: Add the Chocolate Chips
Fold the chocolate chips into the dough using a spatula, making sure they are evenly spread throughout.
Step 7: Chill the Dough
Cover the bowl and refrigerate the dough for 30–45 minutes. Chilling helps the cookies stay thick and soft while baking.
Step 8: Shape and Bake
Scoop about 2 tablespoons of dough onto the prepared baking tray, leaving space between each cookie. Bake for 10–12 minutes until the edges are lightly golden and the centers still look soft.
Step 9: Cool and Enjoy
Let the cookies cool on the baking tray for 5 minutes, then move them to a wire rack. They will finish setting while staying soft inside.
Tips for Extra Soft Cookies
- Always use brown sugar for extra moisture.
- Don’t skip the cornstarch—it creates a softer texture.
- Chill the dough before baking for thicker cookies.
- Remove the cookies while the centers still look slightly underbaked.
- Store them in an airtight container with a slice of bread to keep them soft for longer.
Serving Suggestions
These soft chocolate chip cookies are delicious with cold milk, coffee, tea, or hot chocolate. They also taste amazing as an ice cream sandwich or served warm with a scoop of vanilla ice cream.
These Soft Chocolate Chip Cookies are buttery, chewy, and filled with melted chocolate in every bite. With simple ingredients and easy steps, this recipe delivers bakery-style cookies that everyone will love.
Chewy Chocolate Chip Cookies

If you enjoy cookies with crispy edges, chewy centers, and plenty of melted chocolate chips, these Chewy Chocolate Chip Cookies are the perfect choice. The extra brown sugar and a slightly shorter baking time give these cookies their rich flavor and irresistible chewy texture. They’re easy to make and perfect for beginners.
Ingredients
- 2¼ cups (280g) all-purpose flour
- 1 teaspoon baking soda
- ½ teaspoon salt
- ¾ cup (170g) unsalted butter, melted and cooled
- 1 cup brown sugar
- ½ cup granulated sugar
- 1 large egg
- 1 egg yolk
- 2 teaspoons vanilla extract
- 2 cups semi-sweet chocolate chips
Step-by-Step Instructions
Step 1: Preheat the Oven
Preheat your oven to 350°F (175°C). Line a baking tray with parchment paper to prevent sticking.
Step 2: Mix the Dry Ingredients
In a medium bowl, whisk together the flour, baking soda, and salt until evenly combined.
Step 3: Combine the Wet Ingredients
In a large bowl, whisk the melted butter, brown sugar, and granulated sugar until smooth. Add the egg, extra egg yolk, and vanilla extract, then mix until creamy.
Step 4: Make the Dough
Gradually add the dry ingredients to the wet mixture. Stir gently until a soft dough forms. Do not overmix, as this can make the cookies tough.
Step 5: Fold in the Chocolate Chips
Add the chocolate chips and gently fold them into the dough so every scoop is packed with chocolate.
Step 6: Chill the Dough
Cover the bowl and chill the dough for 30–60 minutes. This helps create thicker, chewier cookies.
Step 7: Shape the Cookies
Scoop about 2 tablespoons of dough onto the prepared baking tray, leaving about 2 inches of space between each cookie.
Step 8: Bake
Bake for 10–11 minutes, or until the edges are lightly golden while the centers still appear soft. Avoid overbaking for the best chewy texture.
Step 9: Cool Before Serving
Let the cookies cool on the baking tray for 5 minutes, then transfer them to a wire rack. They will continue to firm up while staying perfectly chewy inside.
Tips for Perfect Chewy Cookies
- Use more brown sugar than white sugar for extra moisture.
- Melt the butter instead of using softened butter.
- Chill the dough before baking to keep the cookies thick.
- Slightly underbake the cookies for soft, chewy centers.
- Use high-quality chocolate chips for the best flavor.
Serving Suggestions
Enjoy these chewy chocolate chip cookies warm with a glass of cold milk, coffee, or hot chocolate. They also make a delicious dessert with vanilla ice cream or can be packed as a sweet snack for school, work, or picnics.
These Chewy Chocolate Chip Cookies are rich, buttery, and loaded with gooey chocolate chips. With simple ingredients and easy instructions, you’ll have homemade cookies that taste just like they’re from your favorite bakery.
Crispy Chocolate Chip Cookies

If you love cookies with crispy golden edges, a light crunch, and rich chocolate flavor, these Crispy Chocolate Chip Cookies are the perfect recipe. They’re thin, buttery, and packed with chocolate chips in every bite. With simple ingredients and easy steps, anyone can make these delicious homemade cookies.
Ingredients
- 2¼ cups (280g) all-purpose flour
- 1 teaspoon baking soda
- ½ teaspoon salt
- 1 cup (225g) unsalted butter, softened
- ½ cup brown sugar
- 1 cup granulated sugar
- 1 large egg
- 1 teaspoon vanilla extract
- 2 cups semi-sweet chocolate chips
Step-by-Step Instructions
Step 1: Preheat the Oven
Preheat your oven to 350°F (175°C). Line a baking tray with parchment paper to keep the cookies from sticking.
Step 2: Mix the Dry Ingredients
In a medium bowl, whisk together the flour, baking soda, and salt until well combined.
Step 3: Cream the Butter and Sugar
In a large mixing bowl, beat the softened butter, brown sugar, and granulated sugar for about 2–3 minutes until light and creamy.
Step 4: Add the Wet Ingredients
Mix in the egg and vanilla extract until smooth and fully combined.
Step 5: Make the Cookie Dough
Gradually add the dry ingredients to the wet mixture. Mix until a soft dough forms, then gently fold in the chocolate chips.
Step 6: Shape the Cookies
Scoop about 1½ tablespoons of dough onto the baking tray. Slightly flatten each dough ball with the back of a spoon so the cookies spread evenly while baking.
Step 7: Bake
Bake for 12–14 minutes, or until the cookies are evenly golden brown around the edges and lightly browned in the centre.
Step 8: Cool Completely
Let the cookies cool on the baking tray for 5 minutes, then transfer them to a wire rack. They become even crispier as they cool.
Tips for Extra Crispy Cookies
- Use more white sugar than brown sugar for a crisp texture.
- Flatten the dough slightly before baking.
- Bake for an extra 1–2 minutes if you prefer an even crunchier cookie.
- Allow the cookies to cool completely before storing.
- Store them in an airtight container to keep them crisp.
Serving Suggestions
Serve these crispy chocolate chip cookies with coffee, tea, milk, or hot chocolate. They also make a delicious dessert alongside vanilla ice cream or can be enjoyed as a quick snack any time of the day.
These Crispy Chocolate Chip Cookies are buttery, crunchy, and filled with rich chocolate chips. They’re easy to make, perfect for beginners, and sure to become a favourite recipe for anyone who loves a classic crispy cookie.
Bakery-Style Chocolate Chip Cookies
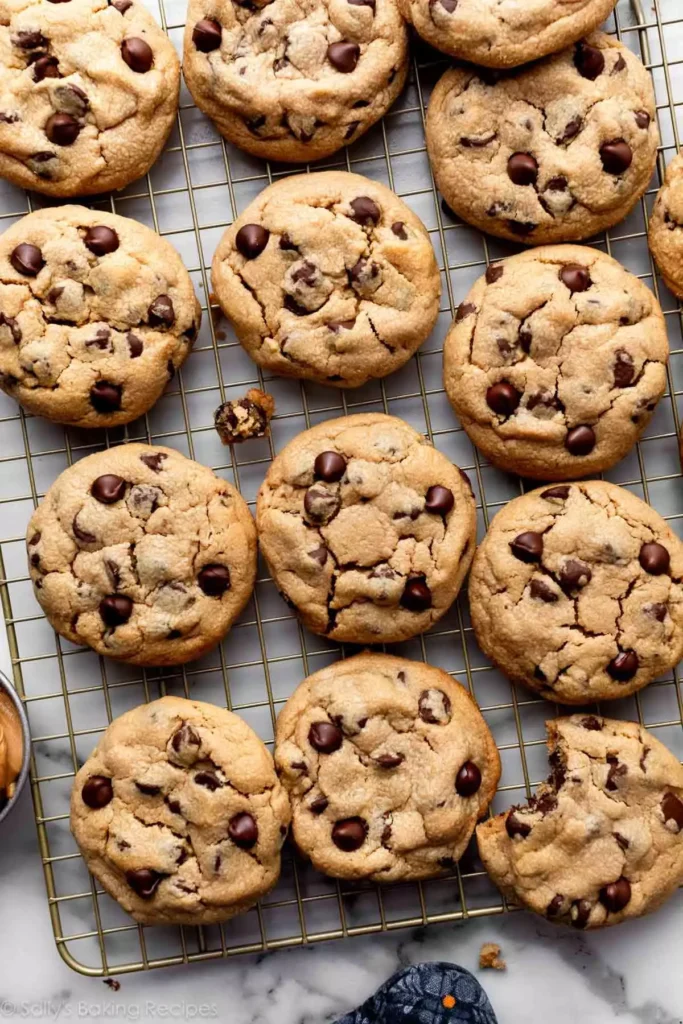
Bring the taste of your favourite bakery home with these Bakery-Style Chocolate Chip Cookies. They are thick, soft in the centre, slightly crisp around the edges, and packed with large chocolate chunks in every bite. This easy recipe uses simple ingredients and a few baking tricks to create oversized cookies that look and taste just like they came from a professional bakery.
Ingredients
- 2½ cups (310g) all-purpose flour
- 1 teaspoon cornstarch
- 1 teaspoon baking soda
- ½ teaspoon salt
- 1 cup (225g) unsalted butter, softened
- 1 cup brown sugar
- ½ cup granulated sugar
- 2 large eggs
- 2 teaspoons vanilla extract
- 2 cups chocolate chunks or chocolate chips
- Optional: ½ cup chopped walnuts or pecans
Step-by-Step Instructions
Step 1: Preheat the Oven
Preheat your oven to 350°F (175°C). Line a baking tray with parchment paper.
Step 2: Mix the Dry Ingredients
In a medium bowl, whisk together the flour, cornstarch, baking soda, and salt until well combined.
Step 3: Cream the Butter and Sugars
In a large mixing bowl, beat the softened butter, brown sugar, and granulated sugar for 3–4 minutes until light, fluffy, and creamy.
Step 4: Add the Eggs and Vanilla
Beat in the eggs one at a time, then mix in the vanilla extract until smooth.
Step 5: Make the Dough
Gradually add the dry ingredients to the wet mixture and stir until a thick dough forms. Fold in the chocolate chunks and nuts, if using.
Step 6: Chill the Dough
Cover the bowl and chill the dough for 1 hour. Chilling keeps the cookies thick and prevents them from spreading too much.
Step 7: Shape Large Cookies
Scoop about 3 tablespoons of dough for each cookie. Roll into large balls and place them on the baking tray, leaving enough space between each one.
Step 8: Bake
Bake for 12–15 minutes, until the edges are golden brown while the centres remain slightly soft. Do not overbake.
Step 9: Cool and Enjoy
Leave the cookies on the baking tray for 10 minutes, then transfer them to a wire rack. They will finish setting while staying soft and chewy inside.
Tips for Bakery-Style Cookies
- Chill the dough for at least 1 hour for thick cookies.
- Use chocolate chunks instead of small chips for gooey pockets of chocolate.
- Don’t flatten the dough before baking.
- Slightly underbake the cookies for a soft, bakery-style centre.
- Sprinkle a little flaky sea salt on top before serving for extra flavour.
Serving Suggestions
Serve these bakery-style cookies warm with a glass of cold milk, coffee, or hot chocolate. They also make an impressive dessert with vanilla ice cream or a drizzle of melted chocolate.
These Bakery-Style Chocolate Chip Cookies are thick, buttery, soft, and loaded with rich chocolate in every bite. Whether you’re baking for family, friends, or a special occasion, this foolproof recipe delivers delicious homemade cookies that look and taste just like they came from a bakery.
FAQs
1. What makes chocolate chip cookies soft and chewy?
Using more brown sugar, not overmixing the dough, and slightly underbaking the cookies helps keep them soft and chewy.
2. Can I freeze chocolate chip cookie dough?
Yes. Scoop the dough into balls, freeze them on a tray, then store them in a freezer bag for up to 3 months.
3. Why did my cookies spread too much?
This usually happens if the butter is too warm or the dough wasn’t chilled before baking.
4. How do I store homemade chocolate chip cookies?
Keep them in an airtight container at room temperature for up to 5 days to maintain freshness.
5. Can I use milk chocolate instead of semi-sweet chocolate chips?
Absolutely! You can use milk, dark, or white chocolate chips depending on your taste.
Conclusion
Making the best homemade chocolate chip cookies is easier than you might think with the right ingredients and a few simple baking tips. This foolproof recipe creates cookies that are soft, chewy, and loaded with rich chocolate in every bite. Whether you’re baking for family, friends, or a special occasion, these cookies are sure to impress. Try the recipe, experiment with your favourite mix-ins, and enjoy fresh, bakery-style cookies straight from your own kitchen.